OK, I'm going to try to post a tutorial on how I make these "interesting" key chains.
I apologize for the pictures as some of them are not very clear but, they may help understand the process.
I had a pattern originally but, I found it easier just to draw directly on the wood and cut from there.
DON'T SAY "I CAN'T DRAW A STRAIGHT LINE." There are very few straight lines in them and besides every one of them will be a little different and that is the really cool part of them!

You can use any hard wood you want to (that is another cool part) but, plywood is out of the question. Don't even try it! B. T. D. T. and got the T shirt.
I use both 1/2" and 3/4" thick wood but, almost any thickness will work. It is not a large piece of wood, I usually make them about 1" x 3" but again that is not important. Just don't make it too big or thick that it is clumsy for a pocket or purse.
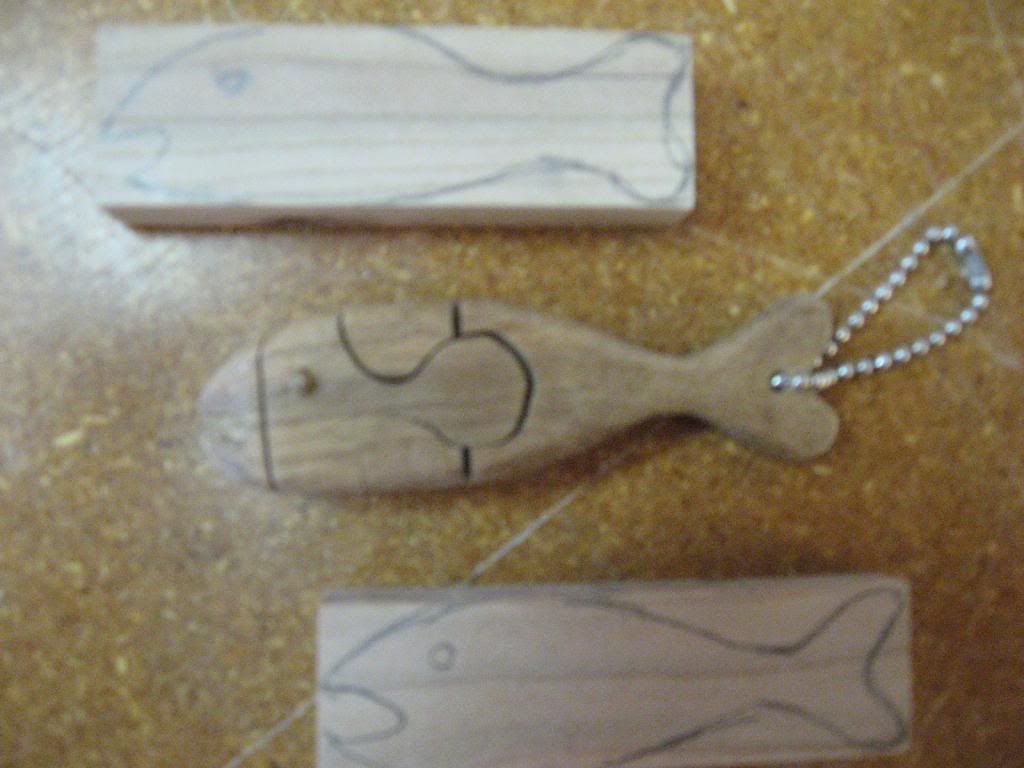
Cut peg and drill eye hole so that it is a PRESS fit. This is important for holding the whole thing together. Draw two jigsaw puzzle shaped pieces on the top.
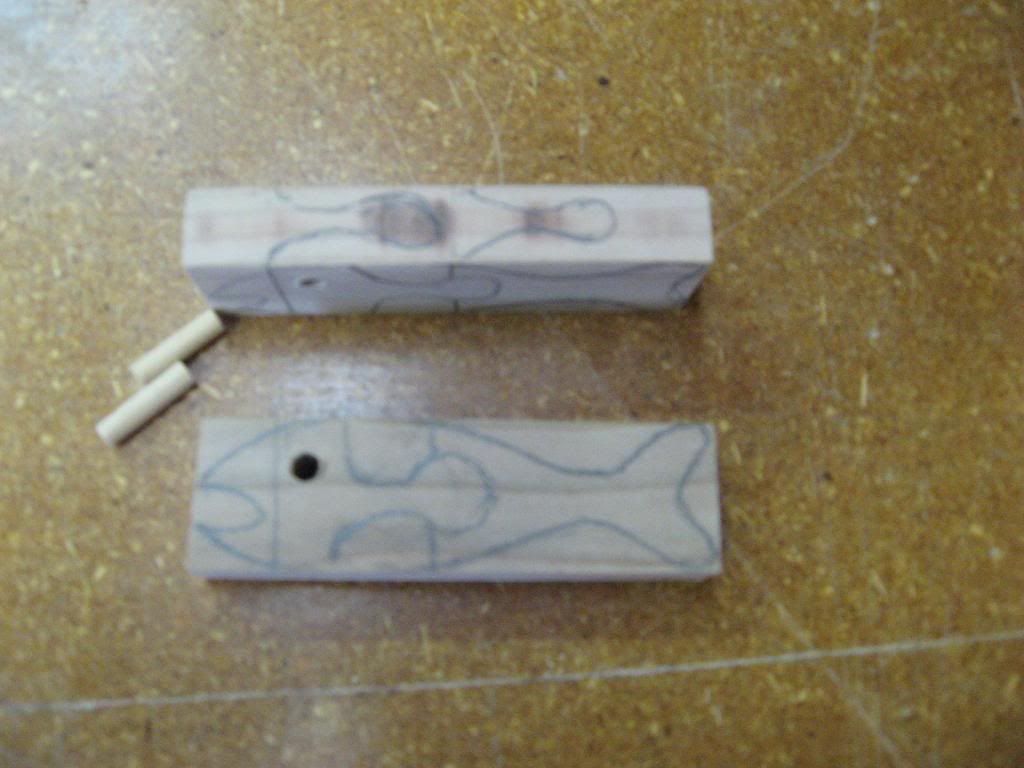
Cut the shape of the head from the front first and then the first puzzle piece from the top. Be sure to start the cut from the top BETWEEN the mouth and eye.

Now cut the second segment (which contains another puzzle shaped piece) from the front. Start this cut in an area that will trap the shape you cut from the top.
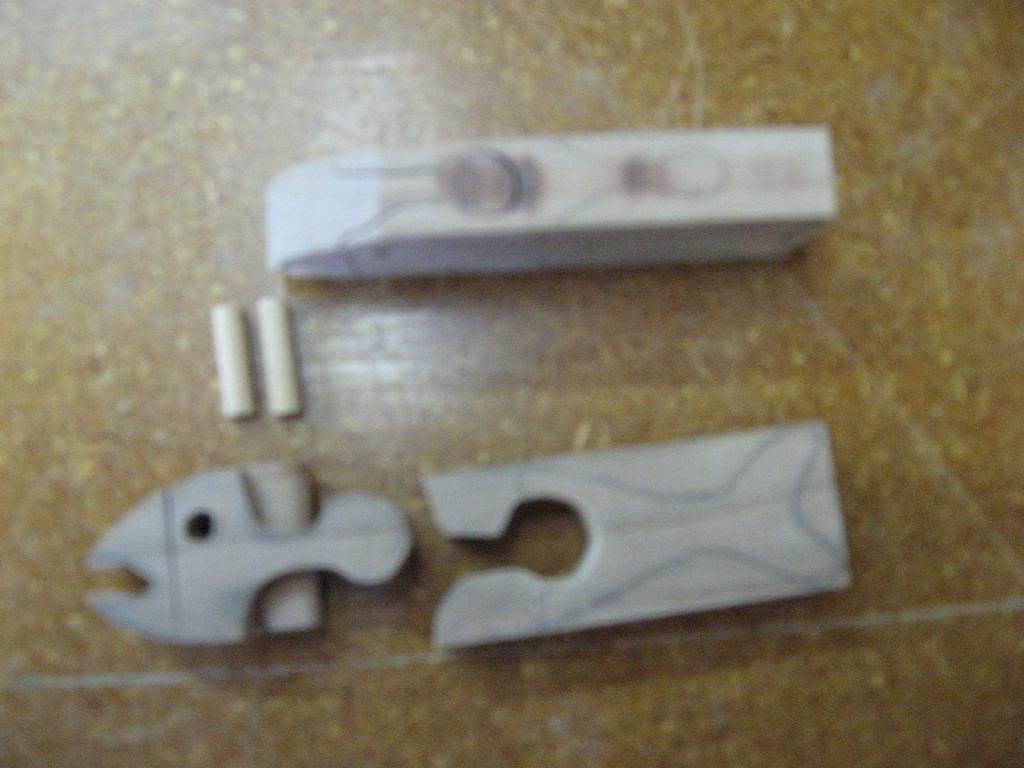
Cut the second puzzle shaped piece from the top. Again be sure to keep the side shape so that it traps the side piece.
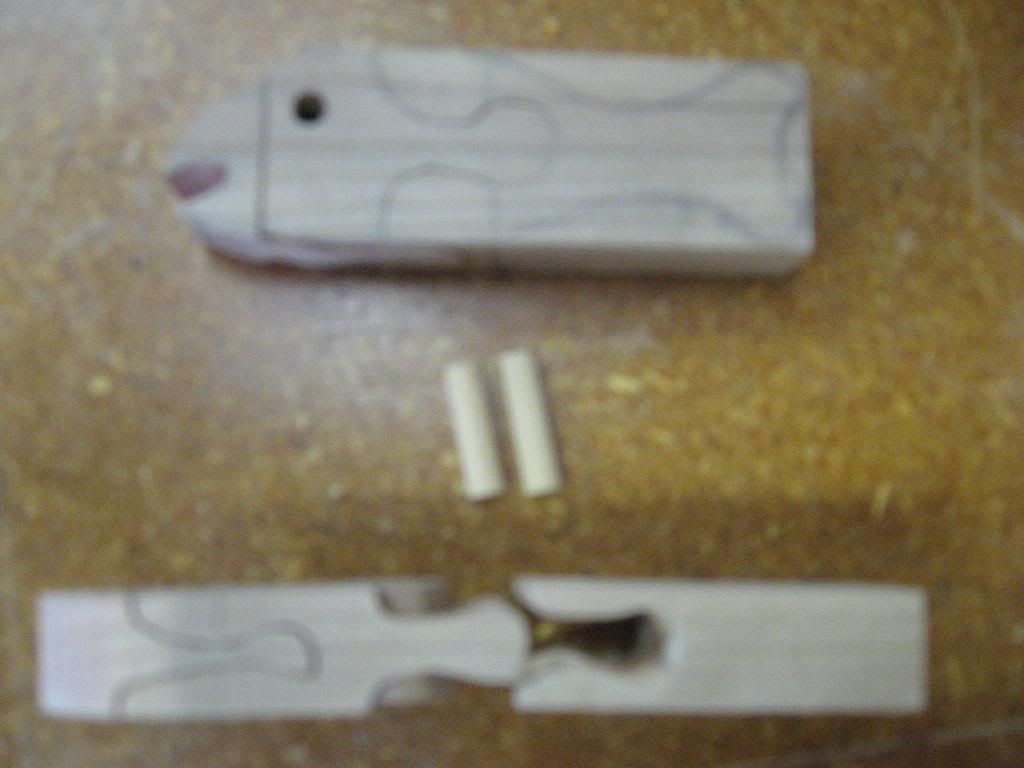
Once that is done, you can assemble the whole thing and use the peg to keep it together to cut the remainder of the fishes body and tail. Then while it is all together, go ahead and knock off the corners of the head from the top, slim down the area at the tail and start sanding

SAND, SAND AND SAND SOME MORE!


Shape to suit yourself. Finish as you want to, it's your fish now!

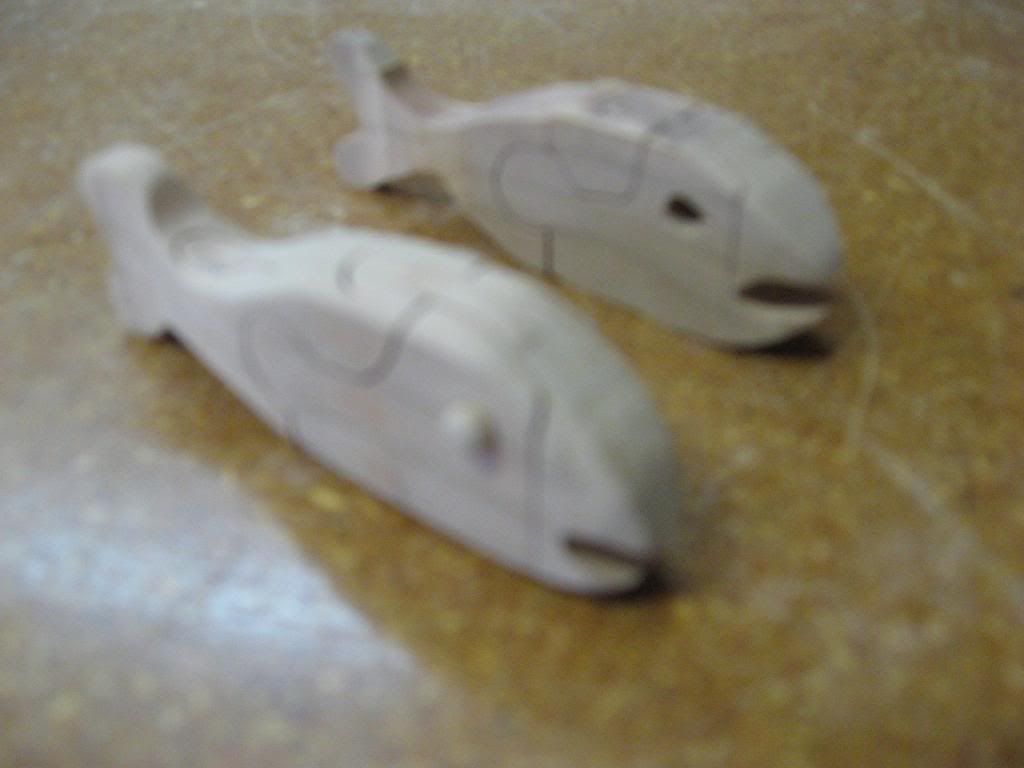
I forgot to mention to drill a hole in the tail to incorporate the keychain but, I figured that ya'll could guess that.
I hope this helps and encourages you to try new and different things in your scrollsawing.
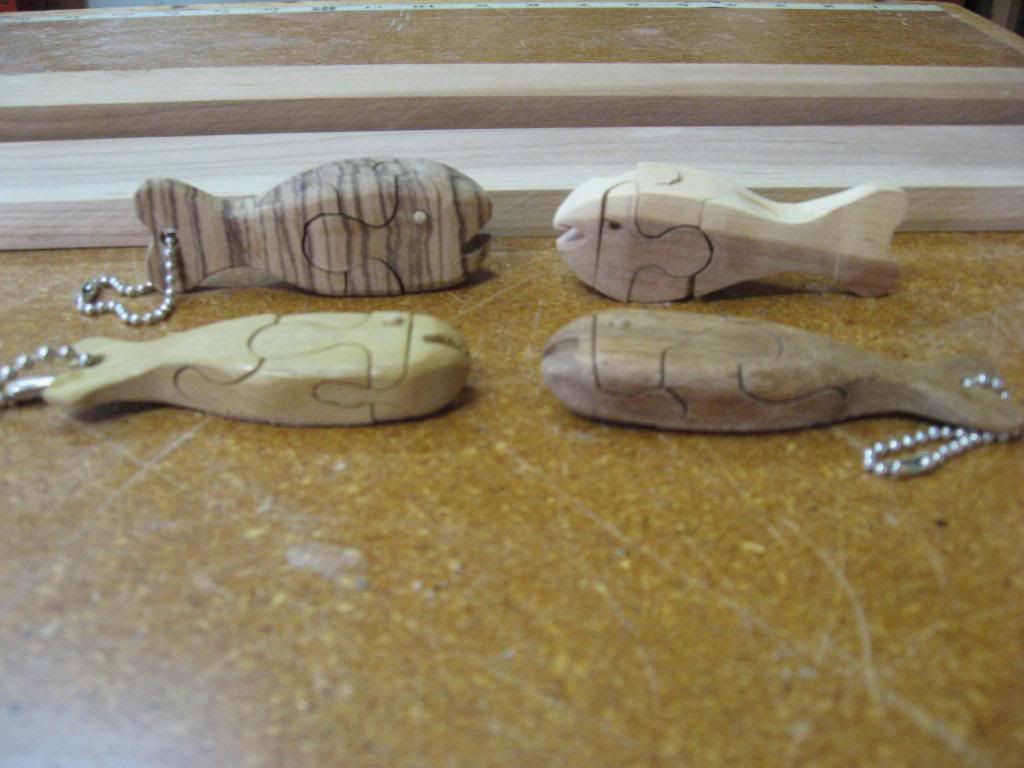
Upper left....Zebra wood. Upper right....Cedar wood
Lower left ....Poplar wood. Lower right ....Walnut
And the ones I cut for this tutorial were cut from Cherry wood.
Rog