Dustin, I just watched your video and enjoyed seeing how you made your salt and pepper shakers.
I don't mean to show off but, I made some shakers a few years ago and thought I would show you and others how I did it and show that there is more than one way to "skin a cat".
I guess that the real problem with mine is that you need a drill press and a 3/4" forstner drill bit and, I cheated and used a table saw to begin with but, it could be done with a scrollsaw also. I also started with some 1-1/2" stock but, I also did a glue up of some 3/4" wood and even stacked up some plywood for one set.
In this set of construction pictures I used maple blocks.
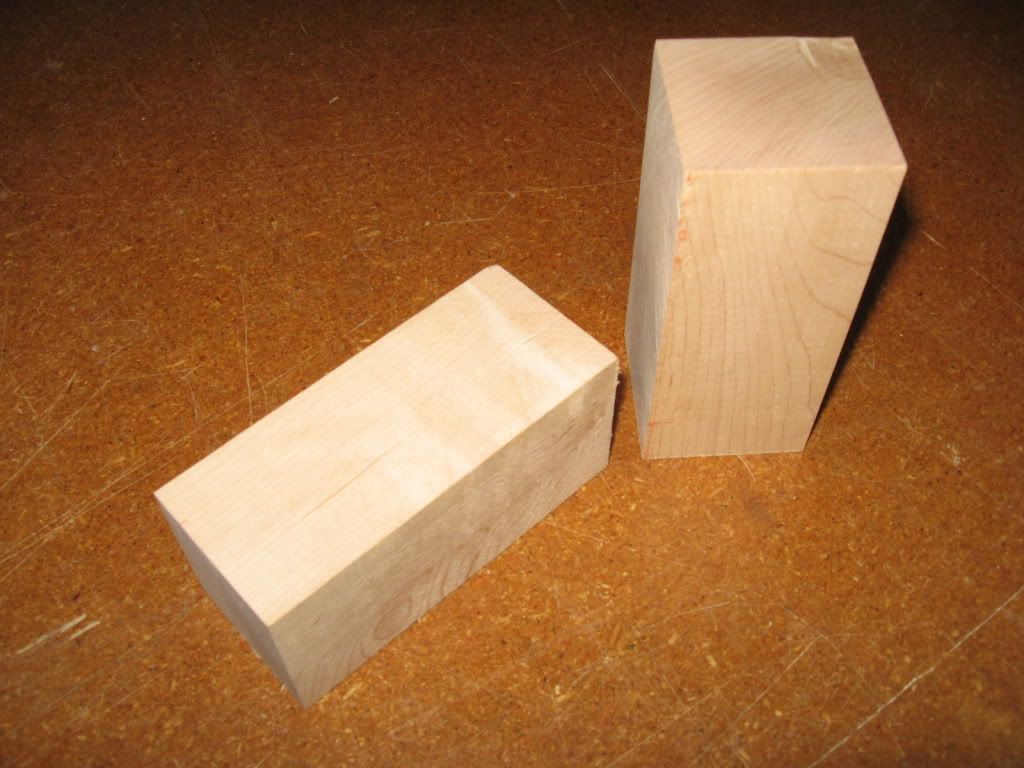
I lopped off one end about 1/4" and then drilled the 3/4" hole in the main body and a 1/4" or 3/8" hole in the base for a cork plug. Oh yea, I also drilled a 3/4" recess in the bottom for plug clearance so that they would set flat on the table.
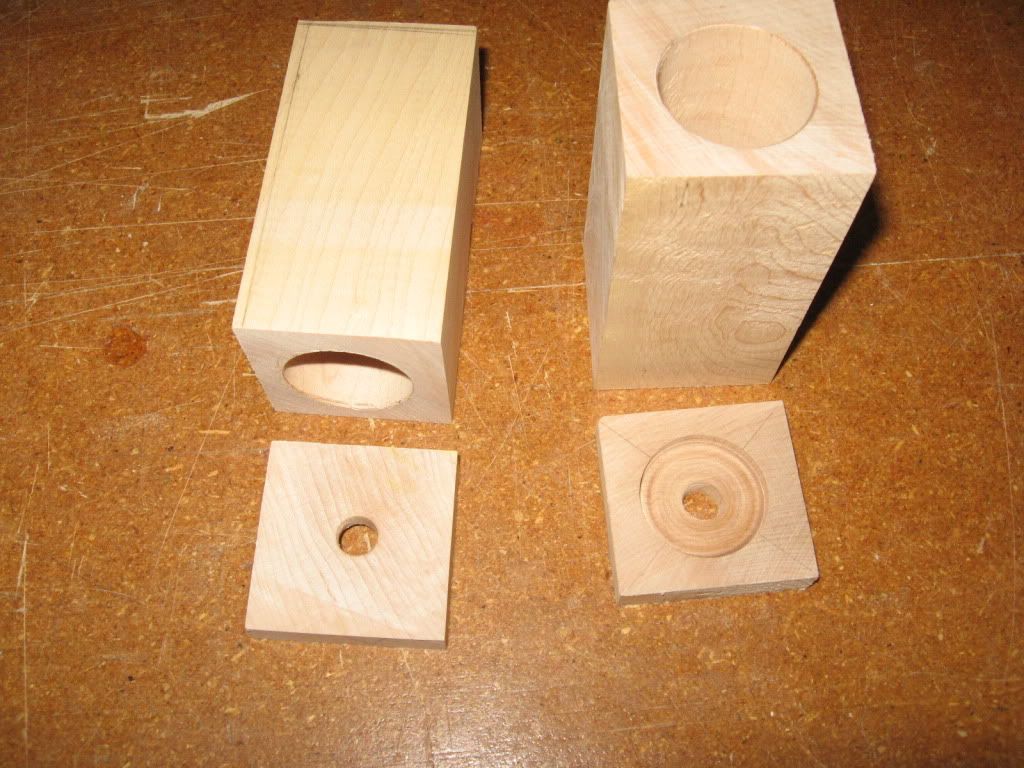
I also drilled the holes in the top of the of the main body for the S&P. (very clever don't you think?

)
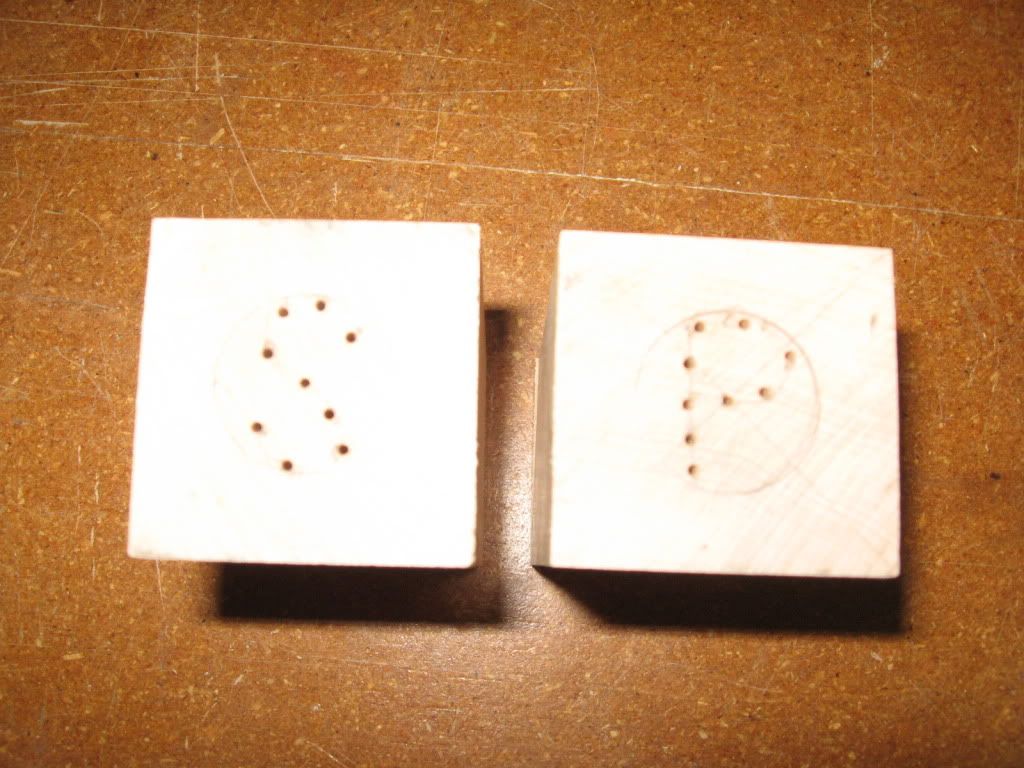
Re-glued the bottom back on to make the whole thing one piece again.

Printed out the patterns that I had drawn ahead of time. Note that it takes two copies to make a 3D pattern and you have to save the drop and re tape it on the blank after the cut so you can see where you have to cut the other two sides.
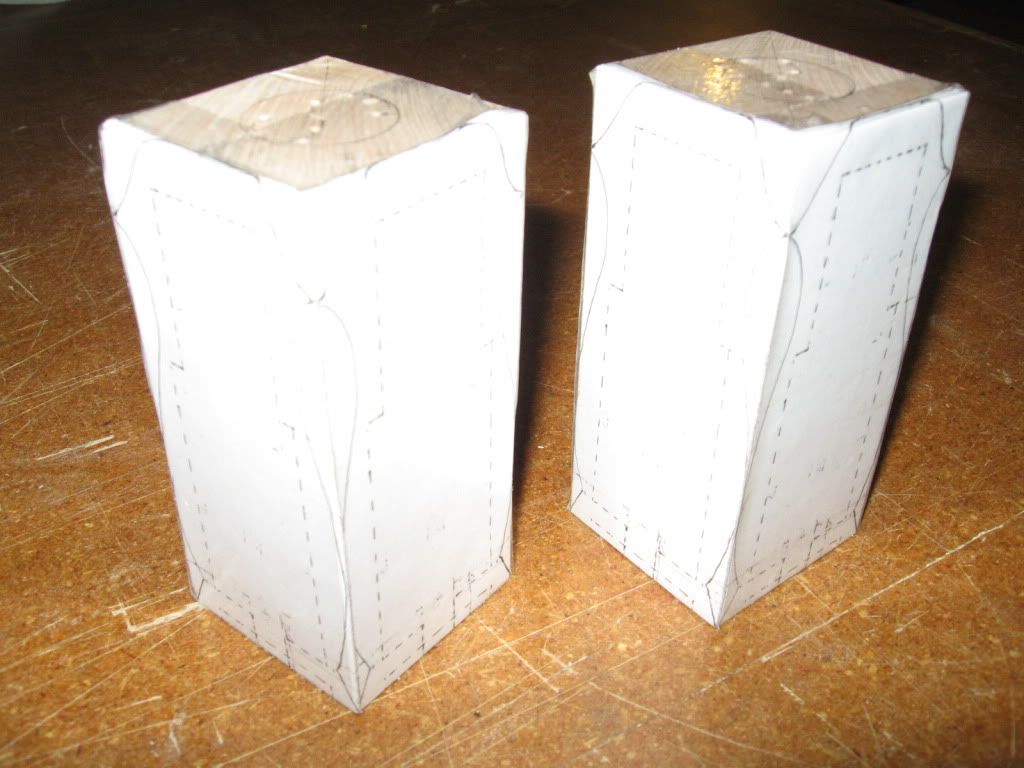
Once the Salt and pepper shakers are totally cut out, just sand and finish, fill with salt (or pepper) install the cork and you are good to go!


As I said, I don't want to steal your thunder but, I think it is nice to see different ways of doing things and ideas from other people.
Here are some of the other designs that I came up with.
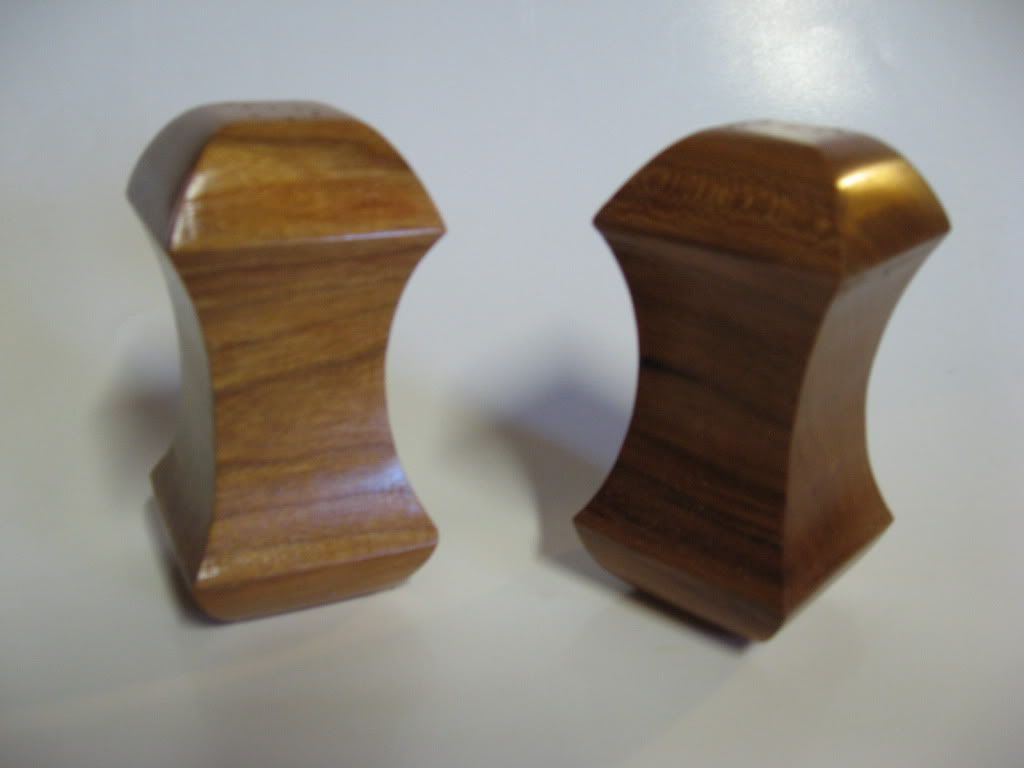
Apple core out of cherry.

Egg made of plywood
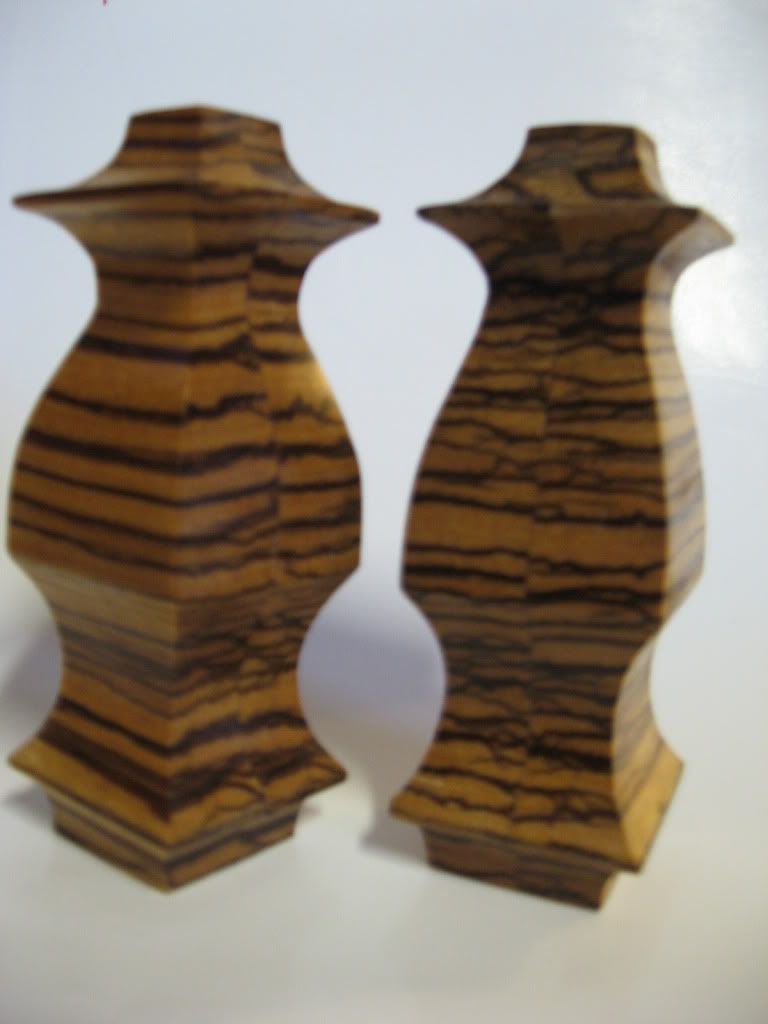
Oriental using zebra wood. (note that it is laminated from two 3/4" pieces)
Hope that this gives you and others some ideas and different things to try. As I always say there are a lot of ways to do things and nobody knows the "RIGHT" way to do any of them.

Rog