Show Posts

This section allows you to view all posts made by this member. Note that you can only see posts made in areas you currently have access to.


Messages - Rapid Roger

Pages: 1 ... 16 17 [18] 19 20 ... 98
256
Tutorials, Techniques and Tips / Picture frame book part 3
« on: October 17, 2014, 10:17:15 pm »
Now it gets a bit more difficult.
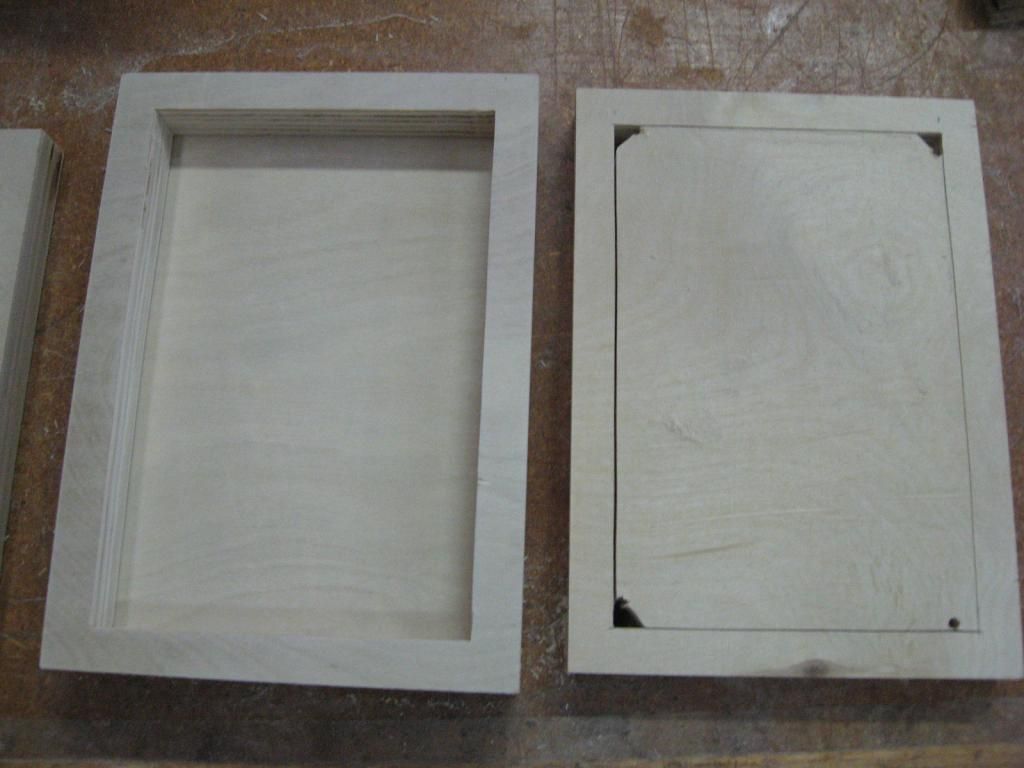
I used 1/4" thick oak for my frame and cut an oval opening in the center. You can use any kind of wood, even plywood, JUST BE SURE IT IS AT  LEAST ONE QUARTER INCH THICK or greater!  You can cut an oval, a circle, a square or any shape out of your frame. just cut the outside of the frame about 1/16" smaller than the center section of the book that you cut out before. AND make sure you leave some "meat" in the corners for magnet holes.
The critical part of the frame is that we are going to drill a 3/16" hole 3/16" deep in the back of the frame for magnets so it must have about 1/16" of wood to hide the magnets.
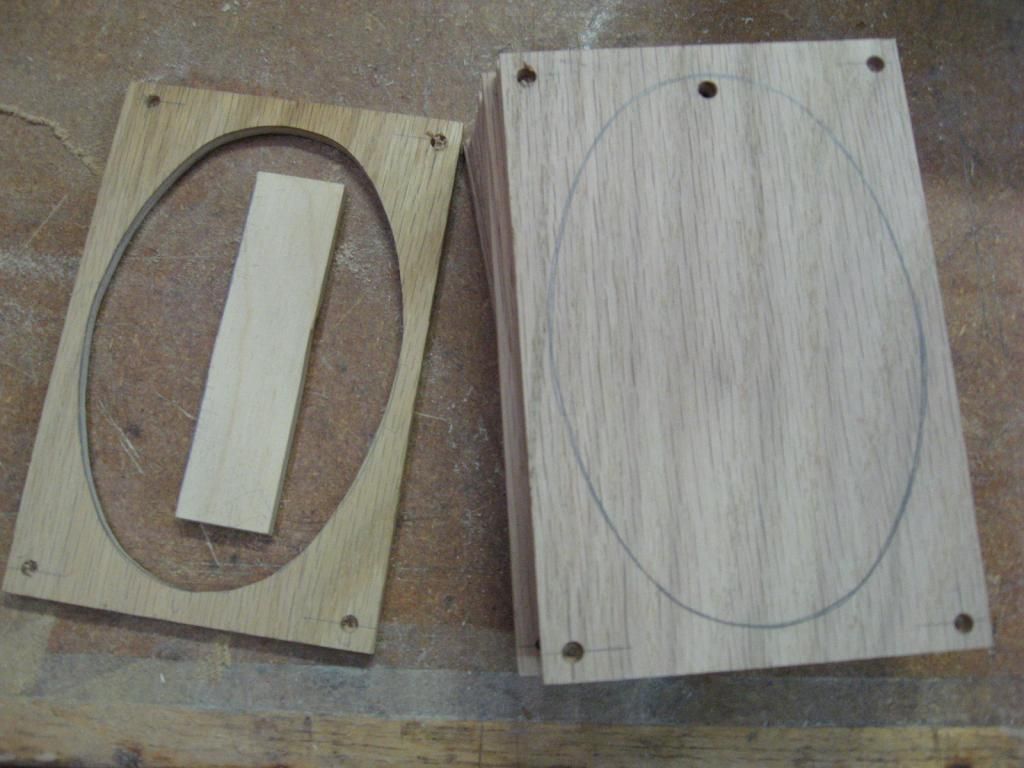


I was making four books at a time so I made a pattern for cutting eight ovals all the same (or close enough  ;D). And the small scrap of 1/4" plywood was a gauge for locating the magnet holes from the outside edge of the frame and the screw holes for the inside of the book cutout.
I used a 3/16" BRAD POINT drill bit because it leaves a fairly flat bottom in the hole for the magnets. AND WE DO NOT want to drill all the way through the frame. By the way, the 3/16" hole just inside the oval is the starter hole for the scroll saw so, IT IS drilled all the way through.  ;)

Now go back to the book.....Using the 1/4" scrap/gauge mark for holes and drill for the screws using a countersink style drill bit. I used #8 screws 1/2" long.  Again do not drill the screw holes all the way through. However, the cover will hide those holes if you should slip up a bit.  :)
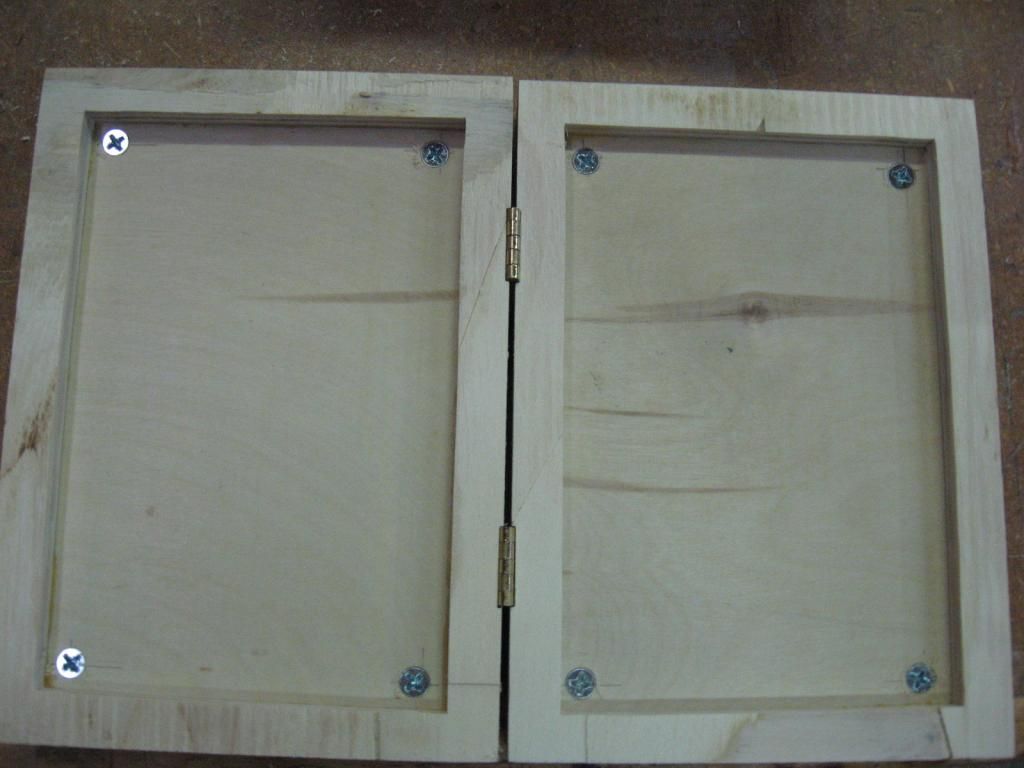


Next, I will answer your question....."Where do you get your 3/16" magnets?" and we do the cover of the book.

Rog

257
Tutorials, Techniques and Tips / Picture frame book part 2
« on: October 17, 2014, 09:41:01 pm »
Don't get too excited but, we are going to CUT THE BOOK IN HALF!  :o
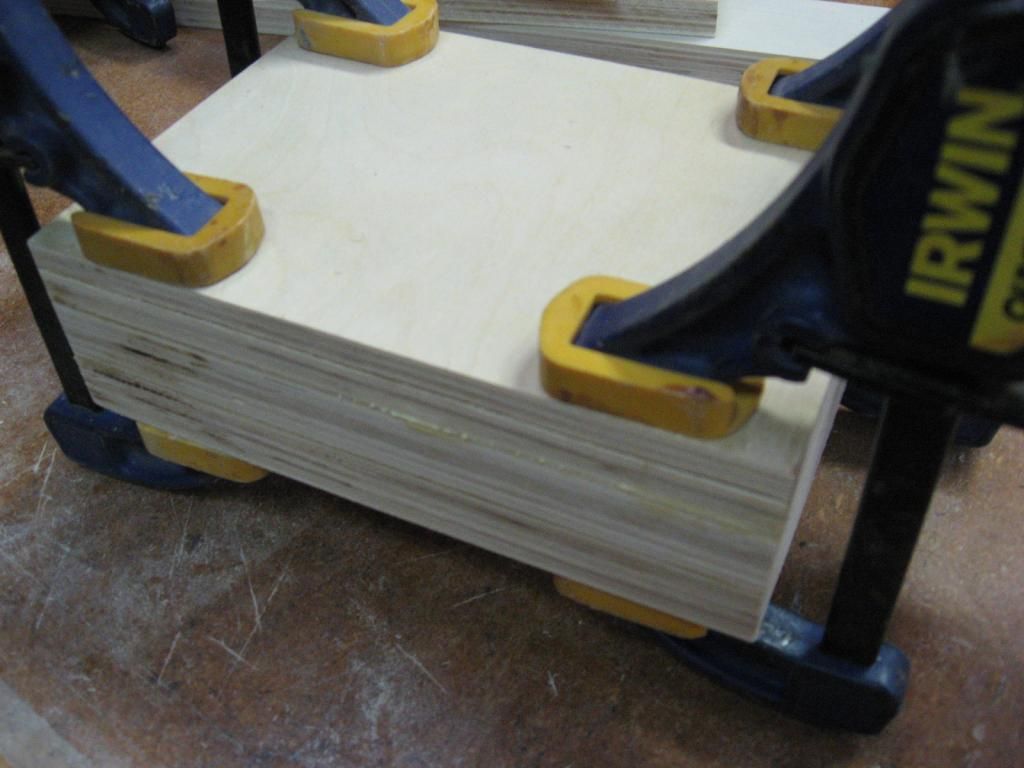
Carefully mark the exact center of the thickness of the three piece book all the way around the perimeter and saw it into two pieces using a table saw or hand saw. I had a thin kurf blade on the table saw which is 3/32" thick if you use a hand saw the kurf may vary but, it doesn't matter. A western style saw may make a thicker kurf and a Japanese saw will make a much thinner cut, but just make sure to stay exactly on the center line and make a nice smooth cut into the "butter" of our sandwich on all four sides and all will be well.
My sandwich started out to be 2-3/32" thick and after cutting it with the table saw it was only 2" thick. NO PROBLEM!


NOW we will install the hinges!
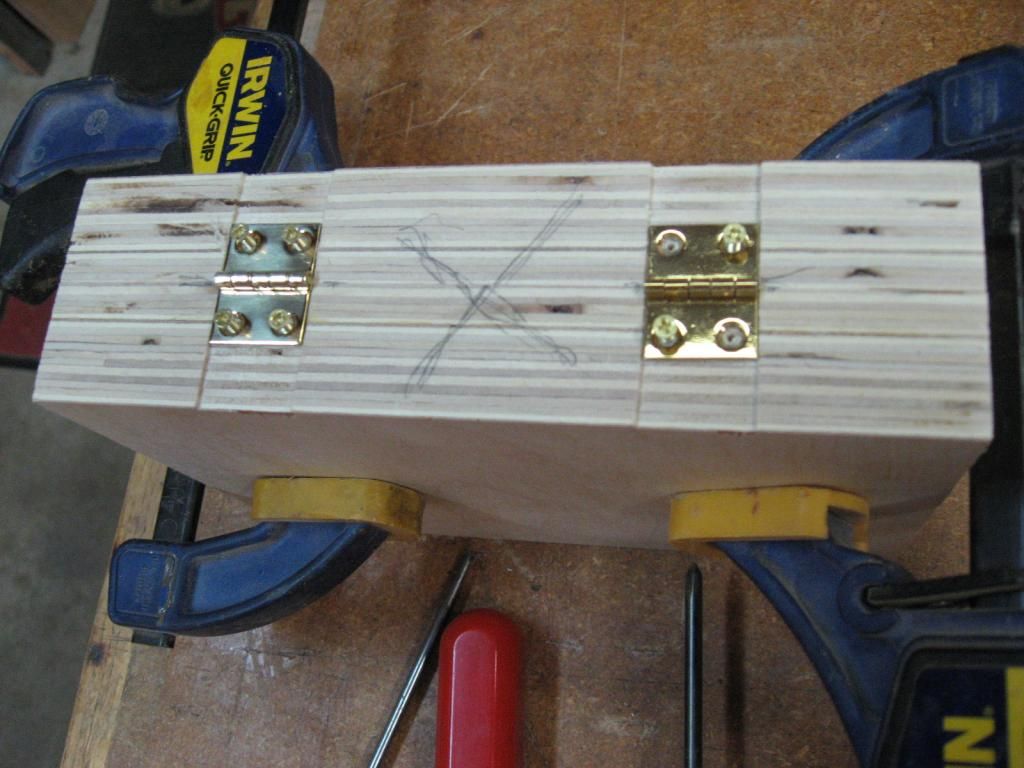
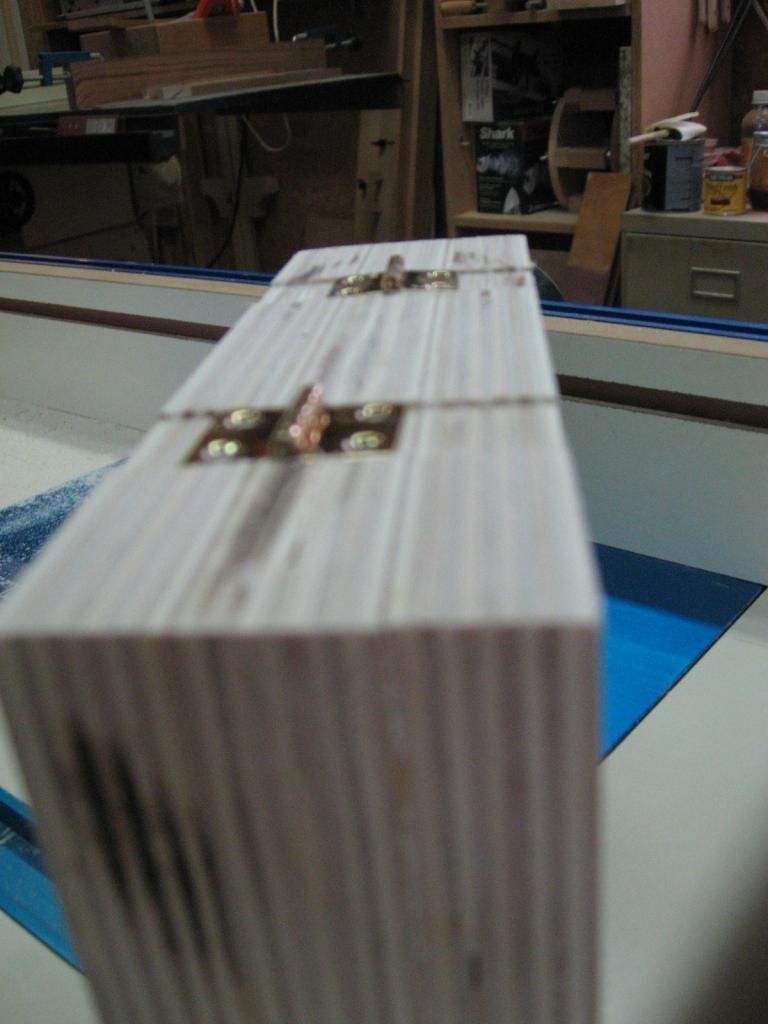
Lay the hinges in the notches and making very sure that the center of the barrel on the hinge is exactly in line with the cut we just made, Mark the hole locations and pre-drill small holes for the screws and install the hinges.
If you are concerned about the screws pulling out of the plywood edge, you may want to put a few drops of superglue or epoxy on the back of the hinge and maybe a drop on each screw for insurance. I did not glue the hinges because I don't think a picture frame will get too much abuse but, some people like the "belt AND suspenders" approach.  ;)


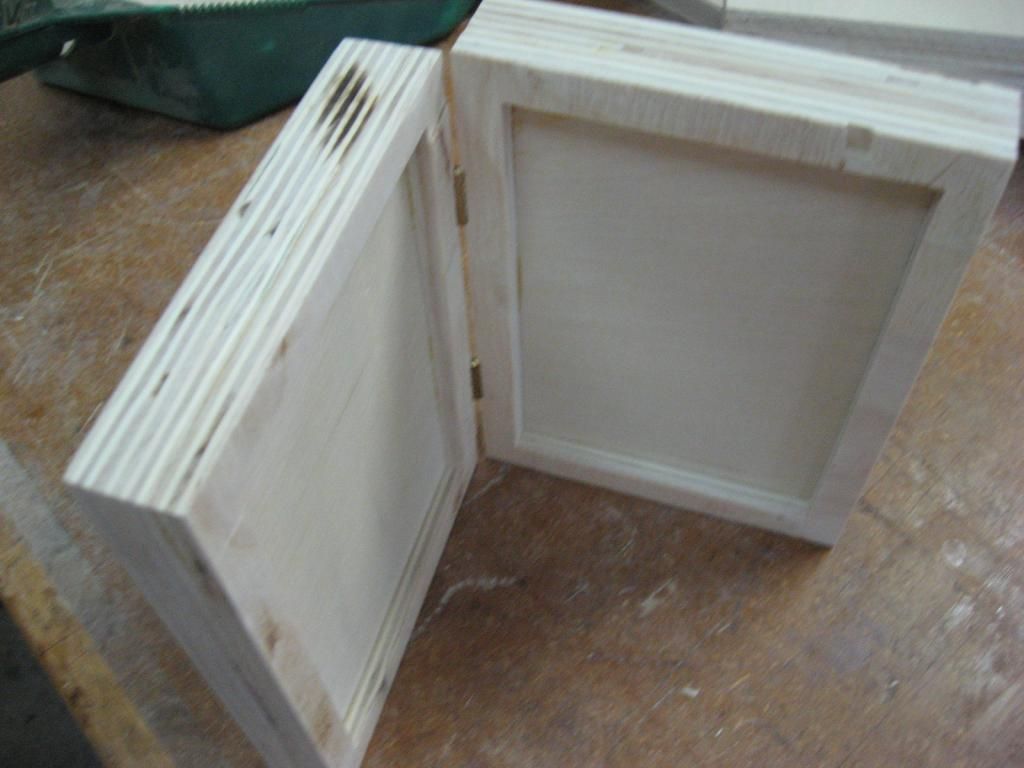
Now we should have a book that looks something like this...


Next, we will make the frame.....

Rog


258
Tutorials, Techniques and Tips / Picture frame book part 1
« on: October 17, 2014, 09:05:20 pm »
OK! So third time a charm right... I'll do it in segments so maybe I won't loose it all at once.  ;)

Make the "book" out of 3/4" Baltic birch plywood.
Using  a table saw or hand saw, cut three pieces at least 1" larger in (width and length) than the size of the intended pictures.
My pictures were 4' x 6" so my plywood pieces  were cut 5" x 7". Yours can vary to what ever size you want. (even 8" x 10" photos which would make the book 9"+ x 11"+)
On one piece, cut the center out of it at least 1/32" to 1/16" larger than the intended photos by drilling holes and cutting it out with the scroll saw.


Glue the three pieces into a sandwich using the one with the cutout for the "butter" (center section)  ;)


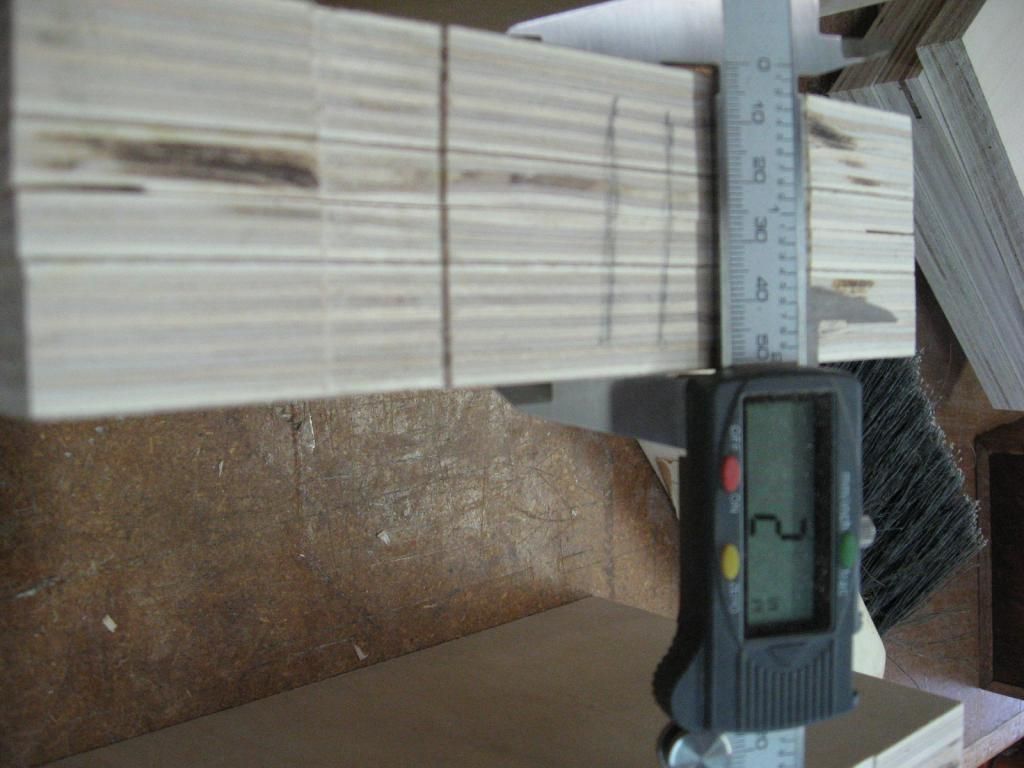
Now cut notches  for the hinges using a router table (like I did) or the table saw or a chisel or the scroll saw.
JUST MAKE SURE that the notches are only as deep as the leaves of the hinges are thick. The barrel of the hinge should stand proud of the wood on the spine of the book. The number and size of the hinges is entirely up to you. I used two 3/4" x 1" hinges but, if your book is larger, you may want to go to larger hinges or even use three hinges.


DO NOT attach hinges yet!  Wait for part 2 for that.  ;D

Rog


259
The Coffee Shop / Re: Penny for your thoughts
« on: October 15, 2014, 10:12:18 pm »
Thanks for that one Chuck!  ;D ;D ;D  I laughed out loud at that one!  ;D  Love it! 8)
Gotta remember it now.

Rog

260
Tutorials, Techniques and Tips / Re: Mad!
« on: October 15, 2014, 10:06:59 pm »
Yall' ain't going to believe this but, I swear it is true.
Last night I spent another 1-1/2 - 2 hours re posting my tutorial and at the very last picture and all I had to do is click on "post" and my computer CRASHED!!!  :o ??? ::) :P >:(
I've spent all day getting it cleaned up and just got back on line.
I had hoped that I had sent it in time but, I see now that it is not here!  :-[ >:(
I've decided that the best thing for me to do is make the tute in my "documents" and then try to figure out how to post the whole thing here. I'll keep trying but, as you can imagine it is VERY FRUSTRATING!

Rog

261
The Coffee Shop / Re: Belt sander cradle
« on: October 13, 2014, 06:39:17 pm »
It is called a bench vice.  ;)

Rog

262
Tutorials, Techniques and Tips / Mad!
« on: October 13, 2014, 12:06:00 pm »
I just spent an hour and a half making a tutorial on my book picture frames and LOST IT!!
Let me calm down a bit and I'll try to re post later.

Rog

263
Brag Forum / Tabletop picture frames
« on: October 11, 2014, 02:58:07 pm »
 We have some friends who are celebrating their 50th wedding anaversery and my wife wanted me to make them a gift. So we agreed on picture frames.
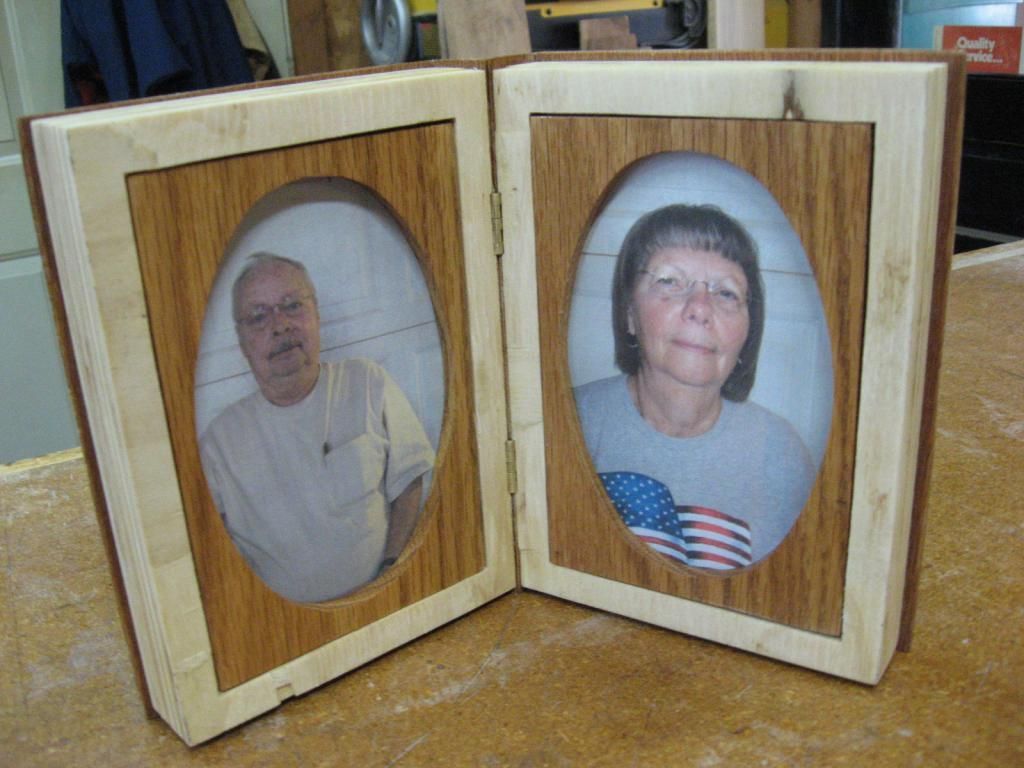
I made two frames in a "book" form using 3/4" plywood and some door skin material.and using small hinges to hold everything together.


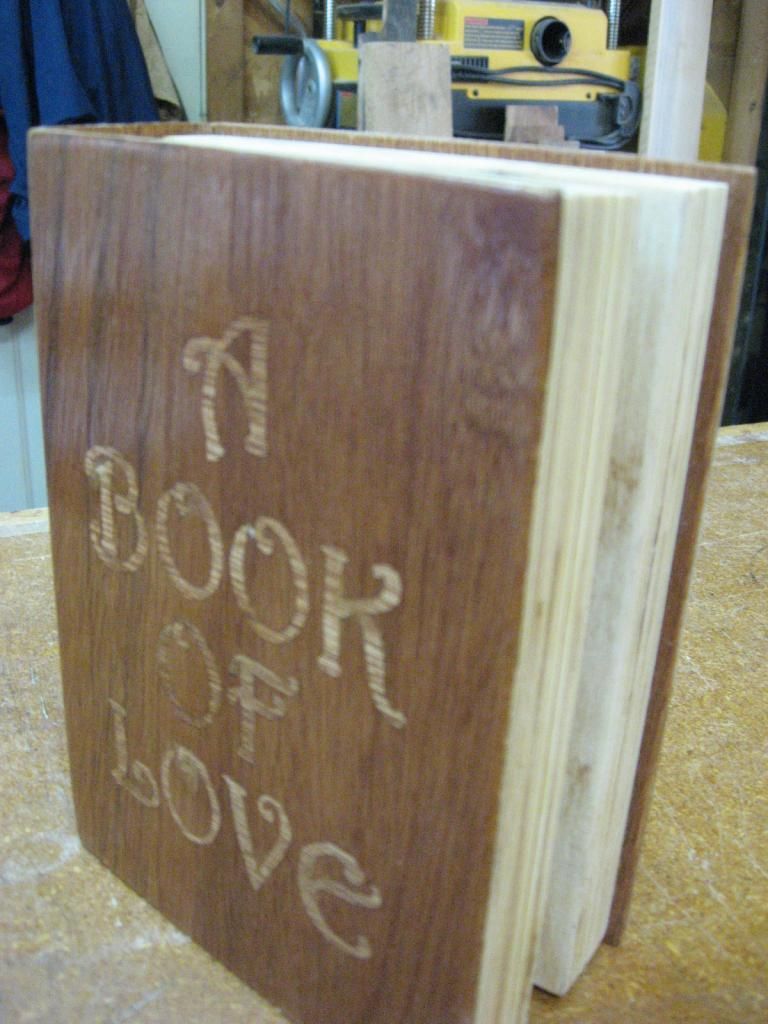
Actually, I made four sets of "picture books" all at once so I have three more for Christmas gifts. Each one is a bit different as far as the book cover is concerned.
I also took a few construction photos as I went so, If anyone is interested, I can provide a tutorial if I get a request for it. Actually they are fairly simple so maybe you can make one just by looking a these photos.

Rog

PS The pictures in the frames are my wife and me not the gift couple. We have only been married for 46 years so far.  ;)
     The pictures can be changed out by removing the oak oval part of the frame.


264
Tutorials, Techniques and Tips / Re: basic no frills frame making
« on: October 09, 2014, 11:49:09 am »
Nice tute DW!  8)
I always enjoy seeing a tutorial like yours. As I have often said, I believe in the old adage "A picture is worth a thousand words." Unfortunately most of the tute's I do have the pictures AND the thousand words too!  ;D ;)
Keep up the good work, I'm sure that it will help out someone that may be a newbie (or even an oldbie) and be of use to them.

Rog

265
Brag Forum / Re: A few name plates
« on: October 03, 2014, 10:40:33 am »
tdub4ever,

After seeing that fourth name plate and seeing that you are from Kansas as I am, I just had to go for equal time.  ;)

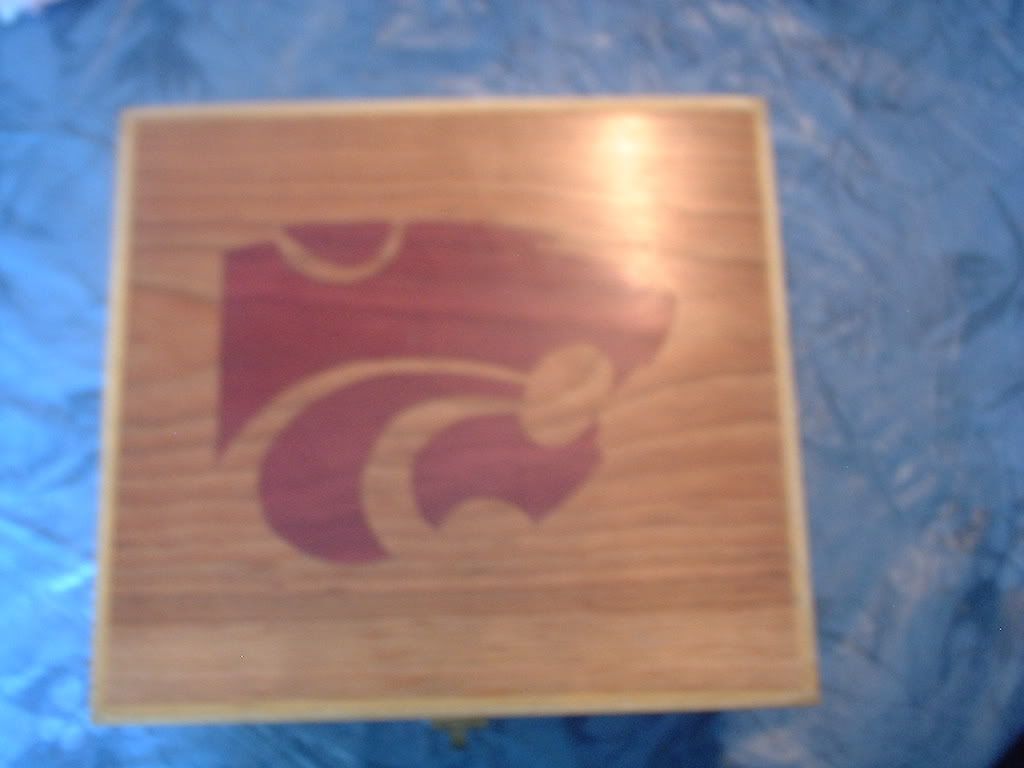
This is an inlaid box top that I made for our son several years ago.


Sorry for the blurry picture  :'(  it was taken with my REALLY OLD camera.  :-[  ::)
Yes, he and his wife are K-State grads.  :)

Rog

266
General Scroll Saw Talk / Re: tis the season
« on: September 27, 2014, 11:04:14 am »
Depending on the thickness of the wood, a test cut should always be made. Either in the first part of the project or on a scrap, cut a slot that more than likely will be a bit tight. Then either file, sand or widen the slot with the saw until it just slips over the thickness of  another piece of the same material. Then use the first slot to trace any additional slots in their respective places.
Like everything else, it just takes practice.   ;)

Rog

267
General Scroll Saw Talk / Re: Hawk Belt Troubles
« on: September 27, 2014, 10:53:53 am »
I agree with Jim. An auto parts store or industrial supply store have more sizes and types of drive belts than you can shake a stick at! That is always my first go to place for ant belt problems.
The only time I've ever had any trouble at all was a drive belt for my Dixon lawnmower. The auto parts house had a belt of the right length (about eight foot long) and they were cheaper than the OEM belts by quite a bit but they just didn't hold up quite as well. Once I broke down and paid the price, I didn't have any more trouble. It was something about the profile in the V drive pulleys that made the difference. Or maybe it was the color...OEM belts were green and aftermarket belts were black!  ;D ;D ;D

Rog

268
Tutorials, Techniques and Tips / Re: Tips for cutting circles anyone?
« on: September 23, 2014, 10:07:07 am »
OH WOW!!  :o

I was WAY off base there! I had no idea of what you were doing!  :P

I agree with what EIEIO  said. Especially the part about making stronger bridges to the outer part. I know that earrings in general are fragile but, you are really asking for trouble with such small areas to hold things together.
Yep, the ONLY way to get better at scrolling is PRACTICE, PRACTICE PRACTICE.

Rog

269
General Scroll Saw Talk / Re: need help
« on: September 19, 2014, 10:26:19 pm »
These are some signs that I made for our son's church (he lives in another town) a few years ago.
I'm guessing about six years ago actually.

I cut the letters out of a piece of 1/4" ply and finished it with polyurethane and  used another piece of 1/4" ply painted black for the backer. I covered both sides of the sanwitch with 1/16" Plexiglas and sealed it up in the frame with clear silicone  as best as I could. The frame was made with cedar lumber and finished with Minwax spar urethane.
IT DIDN'T WORK!  :o....Well actually, they are still sanding and legible but, the weather in Kansas has really gotten to them. There is mold inside the Plexiglas and of course  the finish on the frame has deteriorated over the years.
I tell you this just as a warning, DON"T GET TOO FANCY if they are going to be outside in the weather,especially if you have large swings between summer and winter like Kansas does.  ;)   


KISS.....Keep It Simple Stupid.  ;)...So they can be touched up and refinished as time goes on. I have offered to redo these two signs but, no one at the church wants to dig them up out of the ground so that I could bring them home and do some maintenance on them.  ::)

I hope this will give you some ideas and help a little.

Rog

270
General Scroll Saw Talk / Re: The Hardest Thing in Scrolling For Me
« on: September 18, 2014, 05:08:54 pm »
It can get really hard when you are using reverse tooth blades. Usually the fewer teeth are on the bottom so you have to check it very carefully. I just use the "finger/thumb" method also and some times I have to check the blade from both ends two or three times before I install it.

Rog

Pages: 1 ... 16 17 [18] 19 20 ... 98

SMF

Teknoromi