Author Topic: inlays  (Read 1839 times)

cowboysfanatic

  • Guest
inlays
« on: November 29, 2015, 12:44:44 pm »
How's the easiest way to tell the correct direction for cutting for inlays. A while back I cut a pattern and I got all of them right except for the eyes on the deer head. I thought I cut all of them in the correct direction but I guess I didnt. My old saw only tilted to the left the new one I get either 788 or ex16 will tilt both. Any advice would be greatly appreciated thanks everybody for reading.

Offline Jim Finn

  • *****
  • Hero Member
  • Posts: 507
    • View Profile
Re: inlays
« Reply #1 on: November 29, 2015, 02:03:30 pm »
I do a LOT of double bevel inlays. (over 300 a year)  To keep my direction right I just remember to keep the image I am inlaying (like an eye) to the correct side of the blade.  Cannot go wrong .  In my case I put the wood to be inlaid under the background wood and my saw is tilted down on my left side.  I then keep the image I want inlaid, like an eye, to the right of my blade as I cut.  I do not think about direction of cut at all. I just keep the image to the right of the blade.
20"Hegner Polymax-3 (2008)
25"Hegner Multimax-3 (1986)

No PHD, just a  DD 214

cowboysfanatic

  • Guest
Re: inlays
« Reply #2 on: November 29, 2015, 03:16:53 pm »
Hey that's a very easy way to look at it thanks so much for the info. I will try that next time I'm inlaying.

Offline Rapid Roger

  • *****
  • Hero Member
  • Posts: 1468
  • Hutchinson, Kansas
    • View Profile
Re: inlays
« Reply #3 on: November 29, 2015, 08:02:16 pm »
I do some inlays also. Mostly lettering and such. I also tilt my table to the left so I keep the inlay part on the left of the blade and cut clock wise so the top (inlay piece) is larger than the back ground. But, when cutting the inside piece of a letter like A, B, D, O, P etc, you will find the letter (good piece) on the right side of the blade and you are cutting counter clock wise!  SUCH IS LIFE! :)


Maybe this example will give you a better idea of what I'm talking about.

Rog
An ounce of responsablity is worth 10 pounds of state and fedral laws.

Offline Jim Finn

  • *****
  • Hero Member
  • Posts: 507
    • View Profile
Re: inlays
« Reply #4 on: November 29, 2015, 08:16:41 pm »
I do some inlays also. Mostly lettering and such. I also tilt my table to the left so I keep the inlay part on the left of the blade and cut clock wise so the top (inlay piece) is larger than the back ground. But, when cutting the inside piece of a letter like A, B, D, O, P etc, you will find the letter (good piece) on the right side of the blade and you are cutting counter clock wise!  SUCH IS LIFE! :)


Maybe this example will give you a better idea of what I'm talking about."


     This is exactly why I never think of, or refer to, cutting clockwise or counterclockwise.  In fact it gets more confusing when folks ask if the blade or the wood  is going clockwise?    I just keep the image to the correct side of the blade.  I used to put the wood to be inlaid on top but it was suggested to me in a forum similar to this one, to put the inlaid wood on the underside so that one could draw or put the pattern on the background wood  and get it placed exactly where it needs to be.  I now use hot glue gun to attach the two woods together and cut them apart when finished with  a box cutter or other razor devise.

« Last Edit: November 29, 2015, 08:18:58 pm by Jim Finn »
20"Hegner Polymax-3 (2008)
25"Hegner Multimax-3 (1986)

No PHD, just a  DD 214

cowboysfanatic

  • Guest
Re: inlays
« Reply #5 on: November 29, 2015, 11:06:41 pm »
Another great suggestion and by the way nice work.

cowboysfanatic

  • Guest
Re: inlays
« Reply #6 on: November 29, 2015, 11:08:17 pm »
Don't know how to post pictures yet but I'm having fun inlaying realtree and bone collector and browning signs.

Offline Rapid Roger

  • *****
  • Hero Member
  • Posts: 1468
  • Hutchinson, Kansas
    • View Profile
Re: inlays
« Reply #7 on: November 30, 2015, 11:37:38 am »
OK Jim, I understand completely what your are saying about my "clockwise/counterclockwise" comments. You are right of course, it can get confusing but, I was just trying to illustrate that when you start cutting an item that it must be one continuous cut.
I also realize that it doesn't matter if the inlay is on the top or bottom of the backer but, I find that it is easier to install the (letters in my case) or shape from the front and the correct size to fit into the backer from the top and it can be sanded flush after glue-up. I don't worry about having the angle exactly right or what the back looks like.
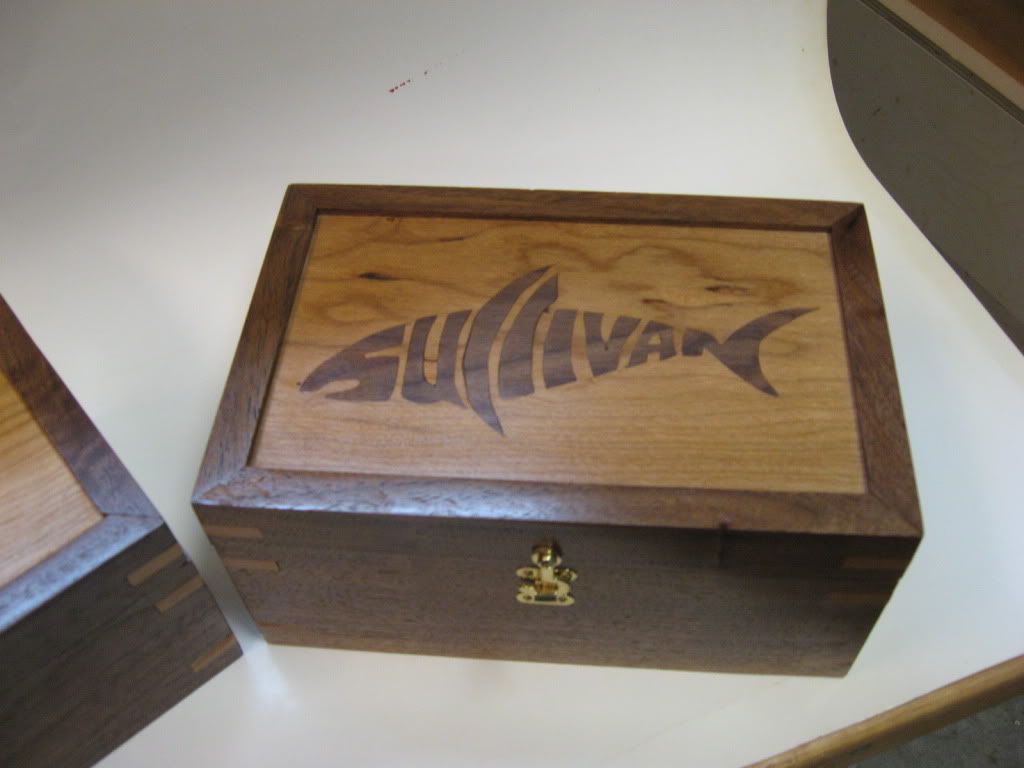
Another example of some inlays that I've done.


This was an earlier piece and you can see the mistakes I made.

Rog

An ounce of responsablity is worth 10 pounds of state and fedral laws.

Offline Jim Finn

  • *****
  • Hero Member
  • Posts: 507
    • View Profile
Re: inlays
« Reply #8 on: November 30, 2015, 10:17:47 pm »
Looks great to me Roger.  Nice box.
20"Hegner Polymax-3 (2008)
25"Hegner Multimax-3 (1986)

No PHD, just a  DD 214


SMF

Teknoromi