Well, as I mentioned in a previous post, I made a picture frame today and took plenty of pictures detailing how "I" do it. So I decided to try another tutorial and hope that I have better luck this time.
I used a stick of old barn wood that measured 3/4" x 2" x 48" and made a frame for an eight by 10 picture. I realize that most people on this site want frames for scroll work so, I made the dado inside the frame 1/2" deep so it could hold a cutting on 1/4" plywood and a 1/4" thick backer. The outside of the frame measures almost 12" x 14" and I know the first question will be "But Rog, how can you cut two 14" pieces and two 12" pieces out of only a 48" long board? That adds up to 52"! ". Well, it can be done, it is all in how you cut the board as you will see in the pictures.
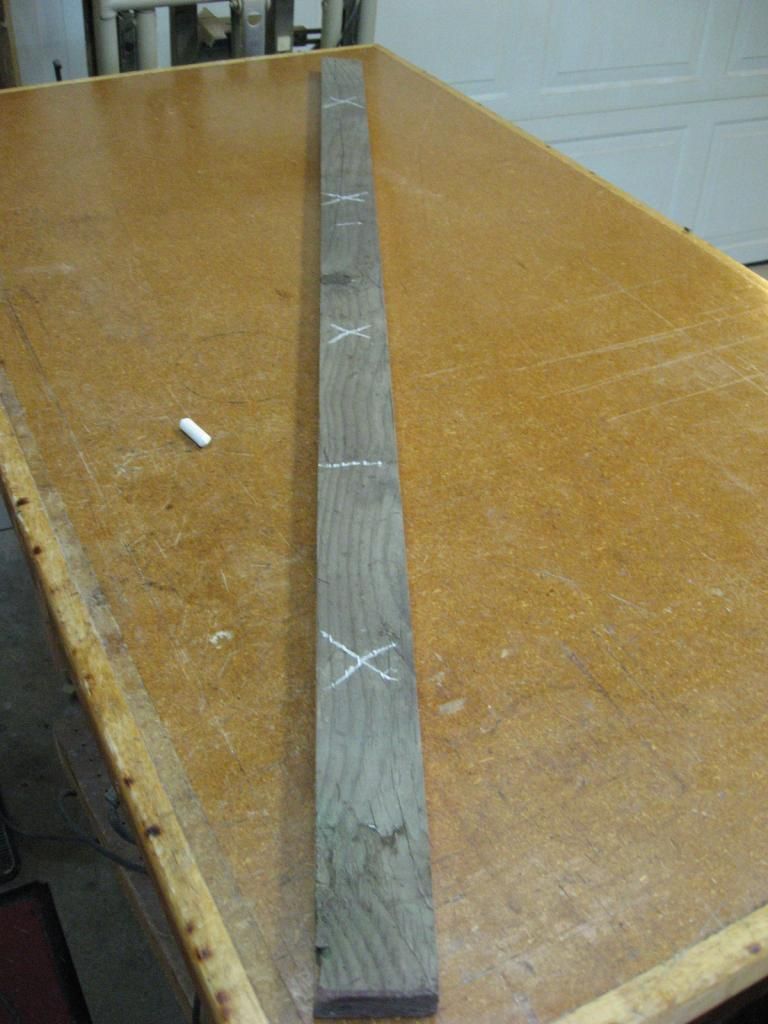

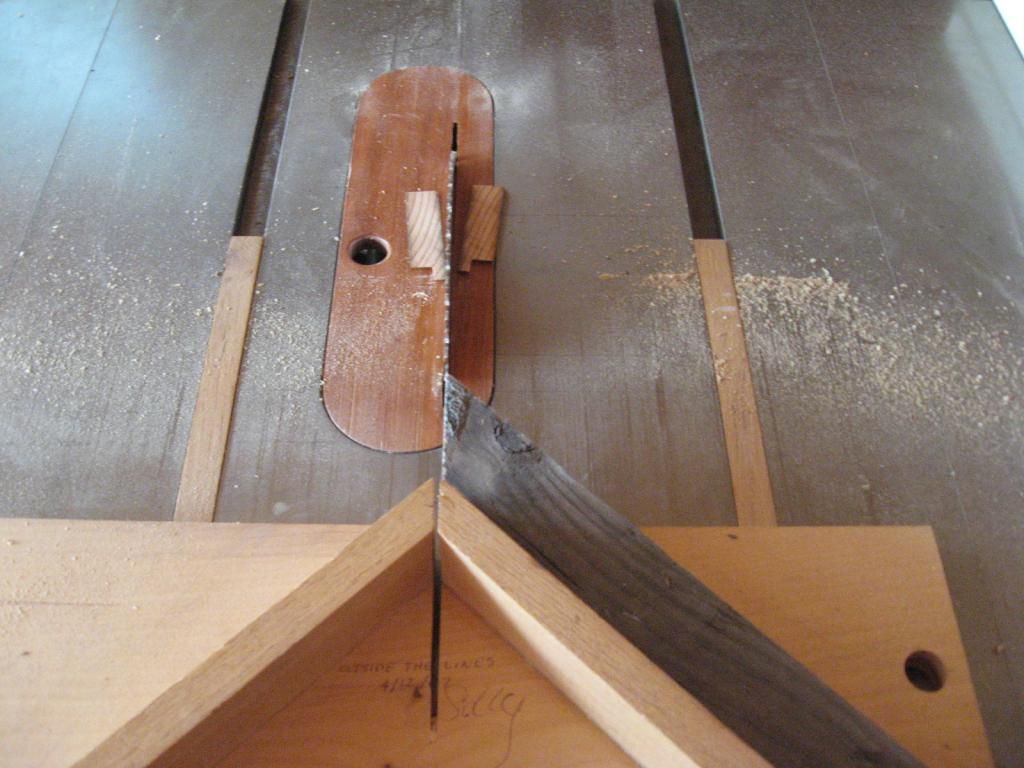
Note that I am using a miter sled and using only the LEFT side and then flip the board over for each cut thereby over lapping each miter by two inches. Actually all four pieces are cut too long for the final frame at this point and will be cut to final length later using the RIGHT side of the miter sled and the miters will fit exactly.
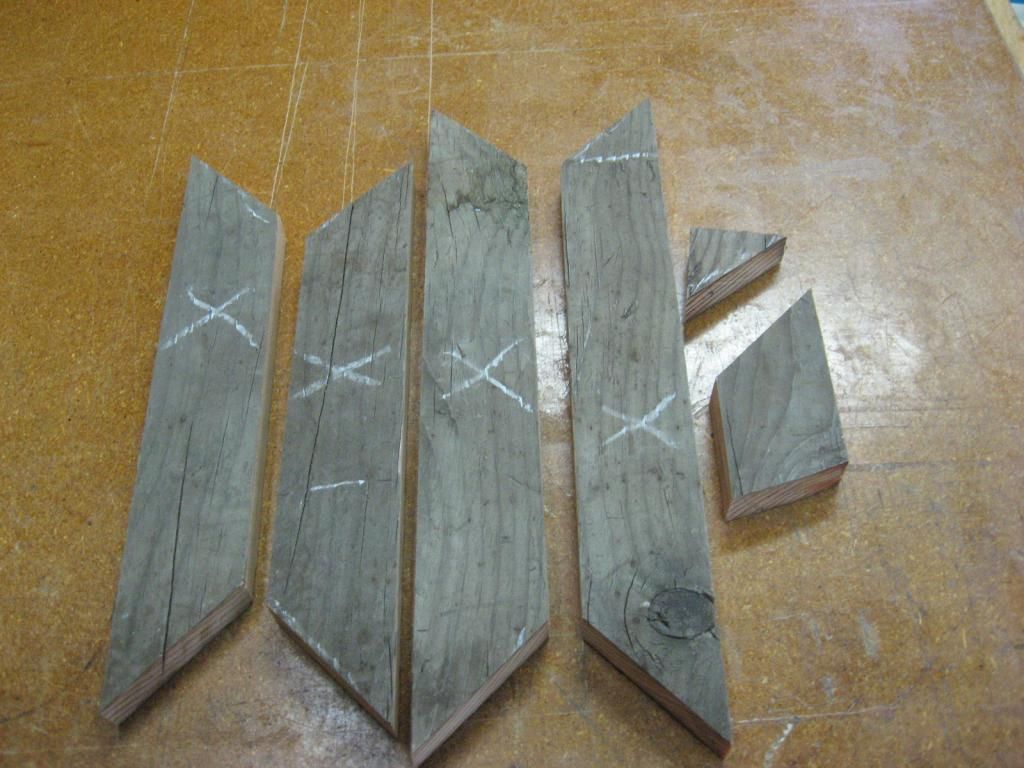
Here are all four pieces rough cut and the scrap from the 48" board.
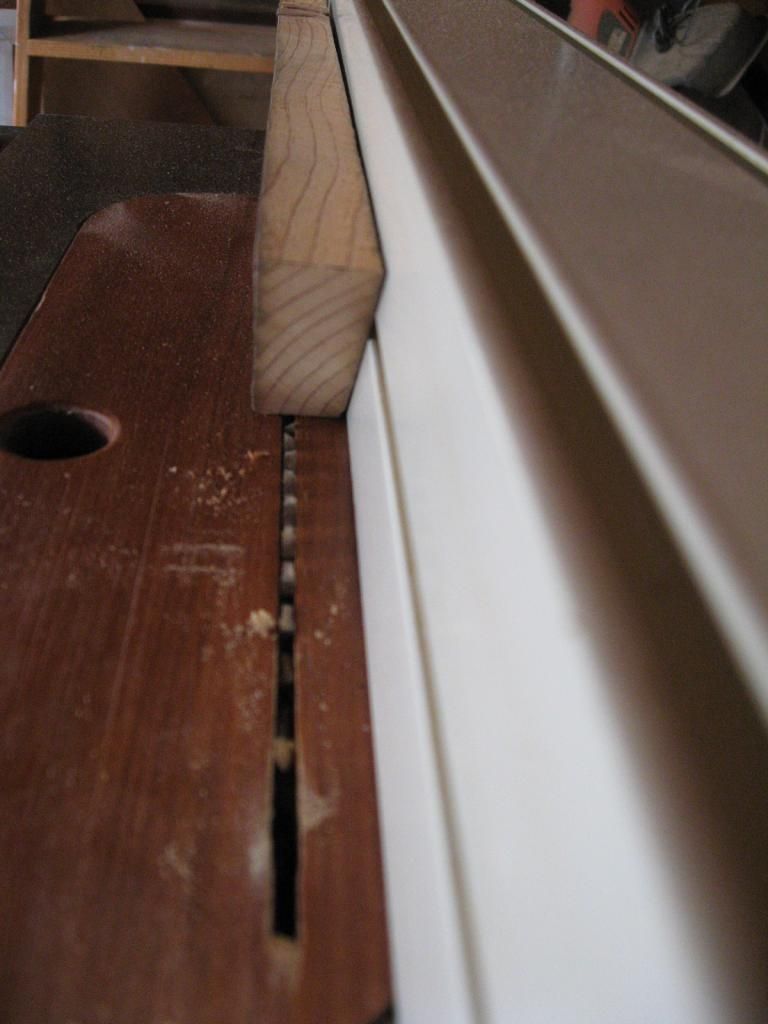
Next is cutting the dado's for holding the picture (or insert) in the frame. I made mine 1/4" wide and 1/2" deep just by adjusting the blade height and the fence for each cut. This would be much easier using a dado blade (which I do own) in the saw or a router bit on the router table but, I just got lazy about changing the saw blade and wanted to show how it can be done without all the fancy stuff that a lot of people don't have.
Now you can cut each piece to final length using the RIGHT side of the miter sled. Measure the final length of each side by measuring inside the corner of the dado and transferring the lines to the out side of the board for the cut. I wanted to make sure that the frame would fit an 8" x 10" picture so, I made my measurements 8-1/8" and 10-1/8" so there would be a bit extra room.
Make VERY SURE that the top and bottom rails are EXACTLY the same length and both sides are EXACTLY the same. The usual problem of making sure the miter angles will fit was taken care of with the miter sled already.
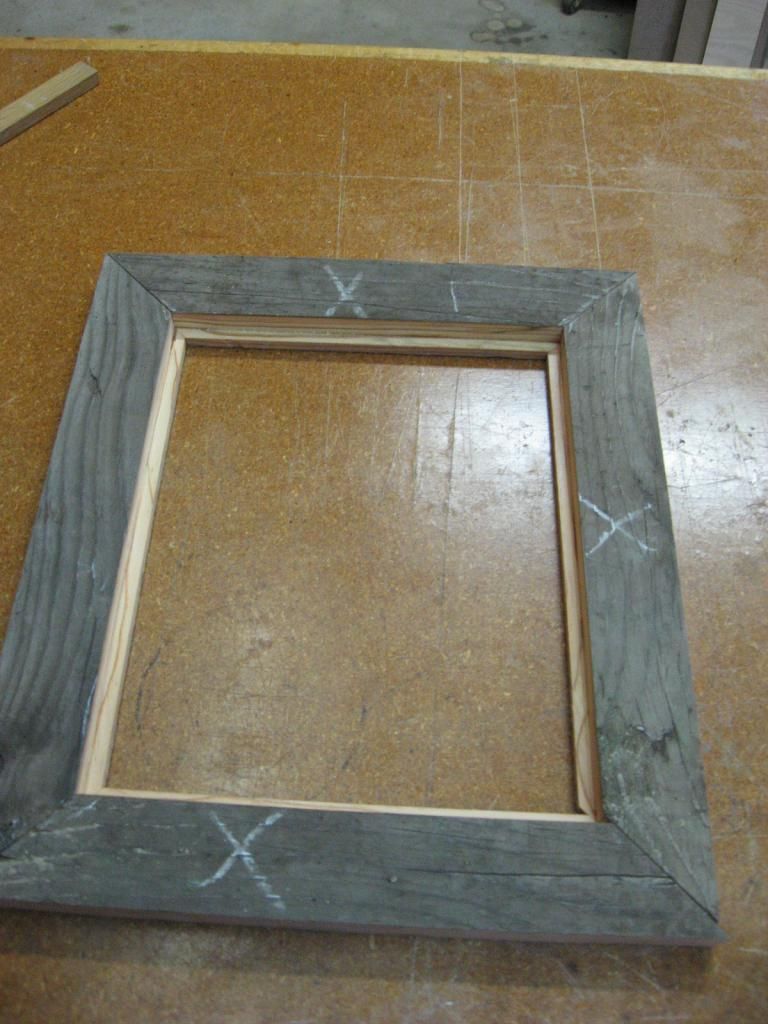
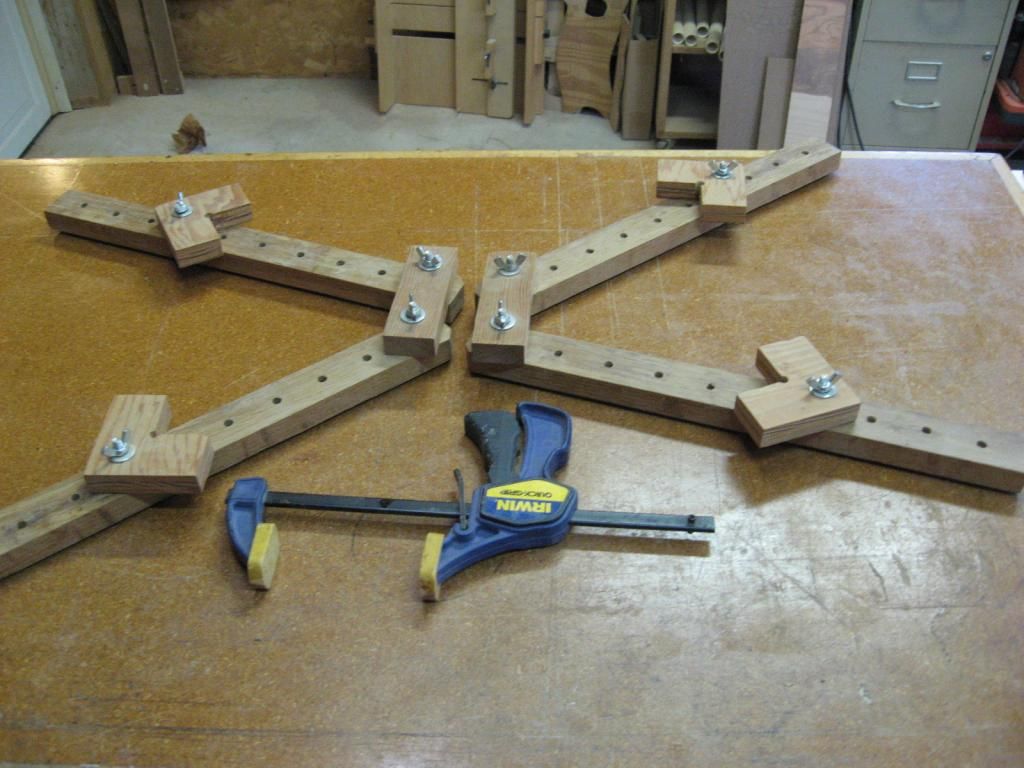
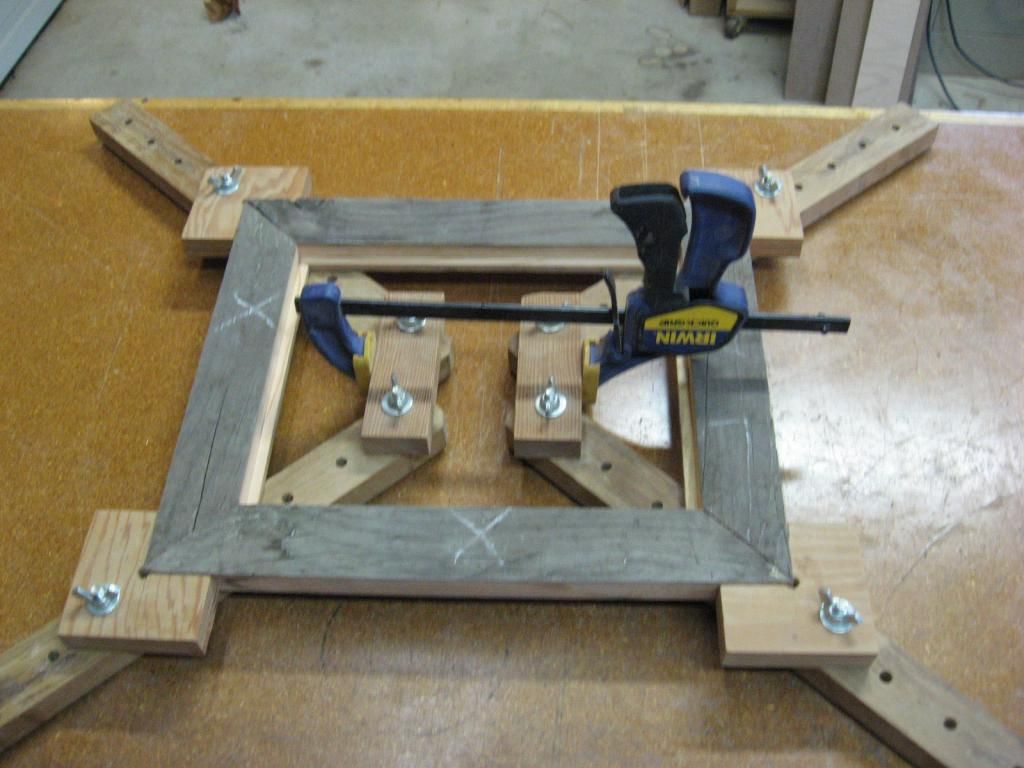
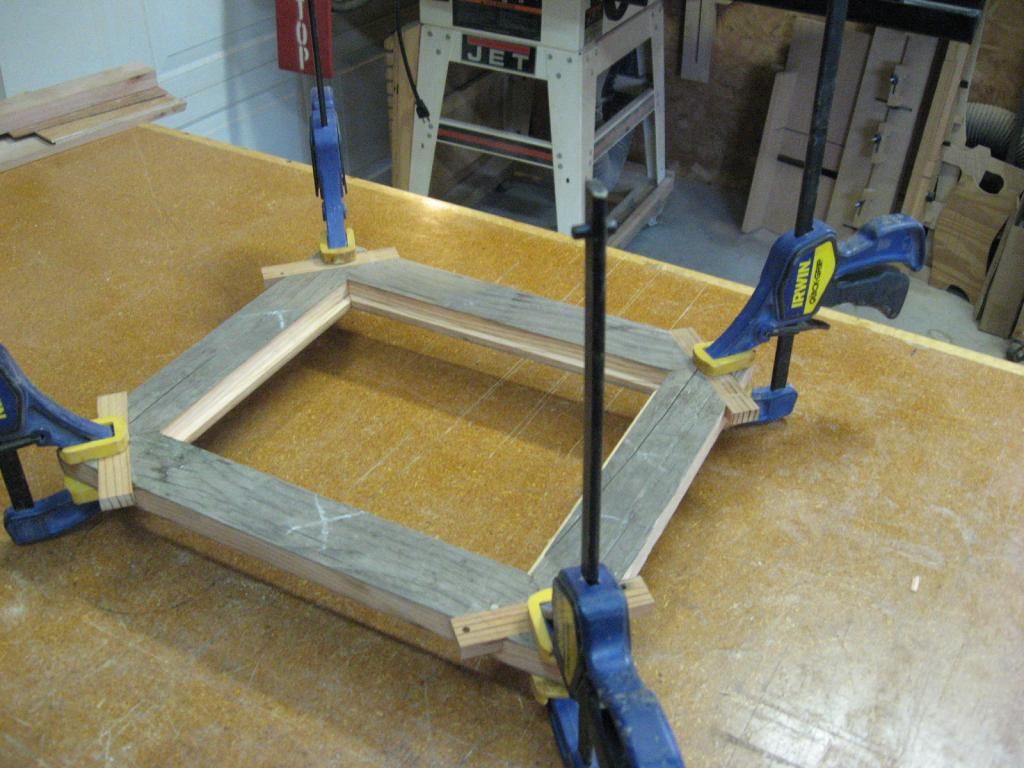
Now for the glue-up....I have a jig that does a very good job keeping everything square and flat and can glue all four corners at once. Still, I highly recommend "cross measuring across the diagonal corners" for insurance.
Note that my jig only requires ONE clamp!
Now that the glue-up has dried for about two hours, we can take it out of the clamps and make the splines. Being careful about handling and/or dropping the frame. End grain gluing is NOT very strong anyway and being mitered corners does not help. That is why we are putting splines in the corners. These splines are made for STRENGTH and not beauty as most are so I'll put them on the back and more or less out of sight. You will be able to see them if you look, on the edges but, WHO LOOKS AT THE EDGES OF A PICTURE FRAME!?!

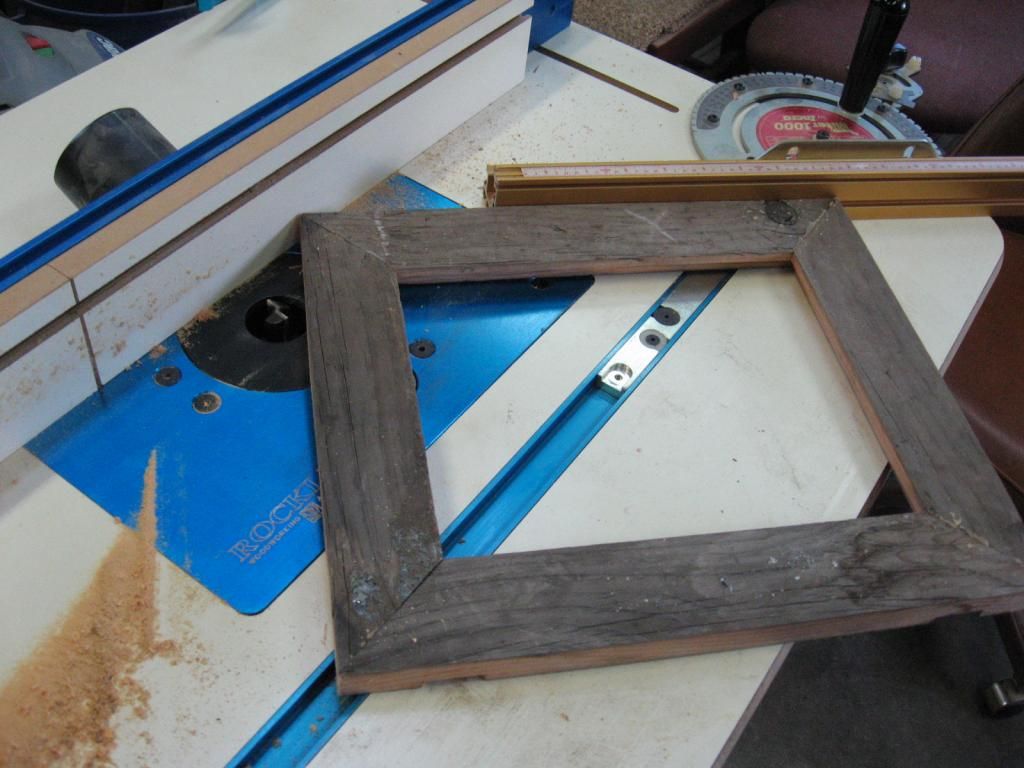
The groves for the splines can be cut using a dado blade in the table saw or could be chiseled out but, I cheated and used the router table. Well, it was already set up with a 3/4" straight bit and all I had to do was adjust the depth a few times so who could blame me?

I made the groves 3/4" wide and 3/8"deep.
Grab a piece of scrap and make the splines...3/4" x 3/8" and glue short pieces into the groves.
Once the glue had dried and you trim off the excess spline material, WE ARE DONE!
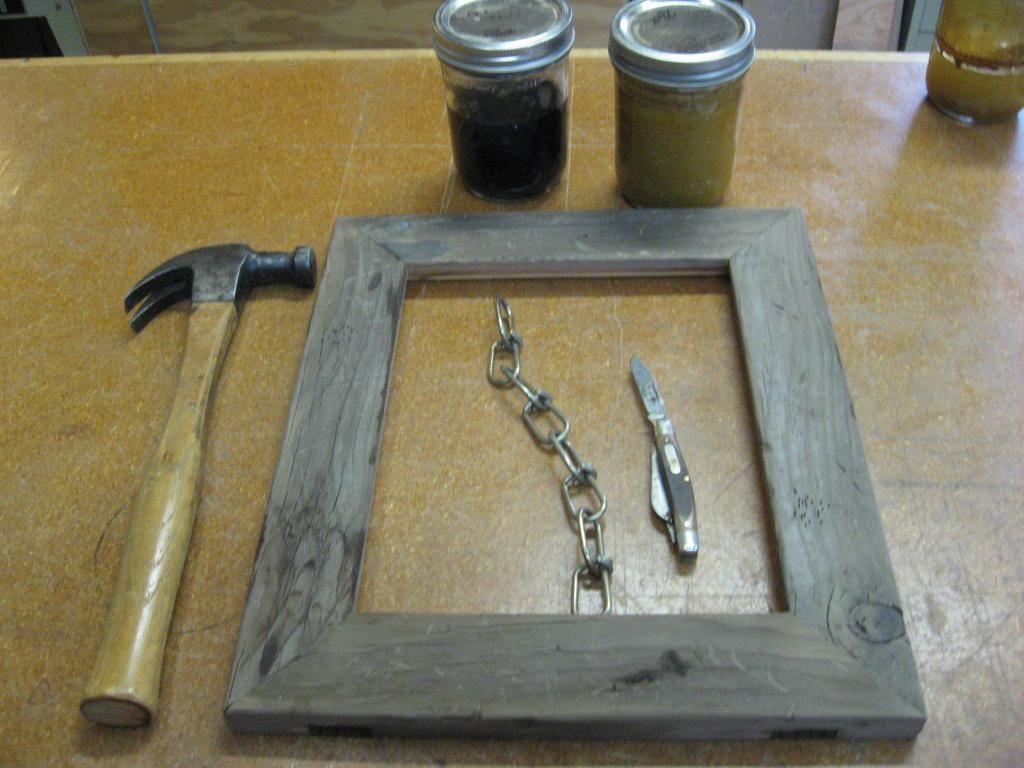
Since my frame was barn wood, I had just a bit of sanding to do and stained the "new" wood edges with a vinegar/steel wool stain I made, and
then beat the frame up a bit with a chain, hammer and knife.

Add a picture or scroll cutting and hang it on the wall!
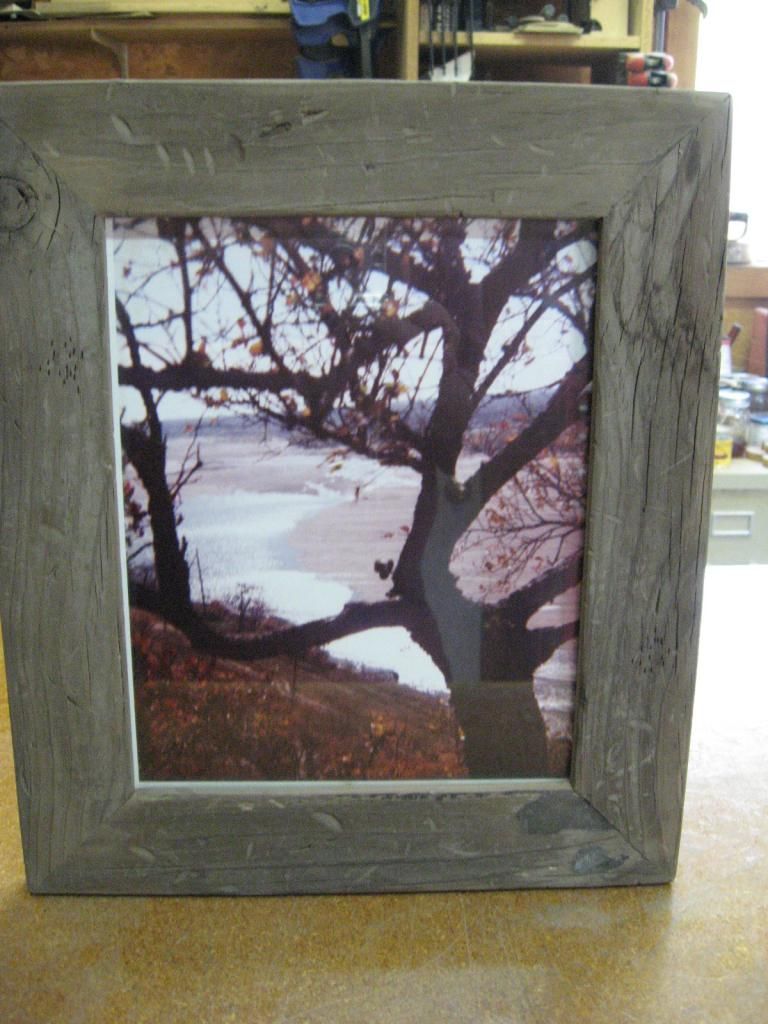
This picture was taken by our daughter back in 1985 when she was only 10 or 12 years old and I have always loved it.
I hope this tute might help someone and give some ideas on how to make one type of picture frame.
Rog


